should the AMA make a grandiose return to the art forum?
| ・ 〰 ・ |ㄏ💠
⬛
(人*´∀`)。*゚+
〜(꒪꒳꒪)〜
ʕ •ᴥ•ʔ
Joined on 12/20/20
Posted by TheShokBlok - September 27th, 2024
Yesterday:
I've always heard people saying that u shouldn't eat watermelon before bed cuz it will do u bad, or something alike.
Very questionable if u ask me, watermelons are mostly water after all, and a lot lf people drink water before bed.
So I decided to put this myth to the test, I just ate half a watermelon all by myself, I shall now go to sleep, I'll let y'all tomorrow know if I wake up in pain or not, self care is overrated anyways.
Today:
Guess what, I was right! absolutely nothing happened, now y'all can eat watermelon at night without fearing tummy aches, no need to thank me.
Posted by TheShokBlok - September 18th, 2024
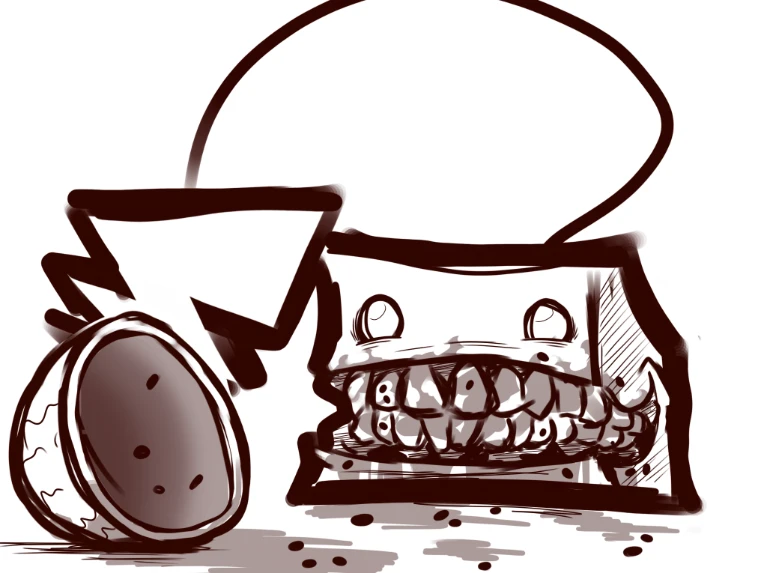
Funny thing that happened, I went to one of those gas station type stores, like a 7seven eleven type, right, and I went along side Nerine's mom, her name is Chloe btw, I think I've never mentioned it before.
Anyways, we went there and once inside I was about to grab some chips cuz chip good, however, I have no idea how did I manage to somehow cut myself with the shelf, the cut wasn't very deep and it didn't hurt that much, but god did it bleed a lot, all of my blood cell savings gone in a matter of seconds.
Chole saw that but I told her I was A-ok and we just went our business, once we arrived at the cashier to pay, she just randomly grabbed me, showed me to the cashier and said something like "ur shelves are pretty sharp" but she wasn't complaining, she just casually mentioned it with a smile.
The cashier saw me and just went like "eesh" and continued doing her job, after that we went home and placed a ton of tissues above the wound and ta-da! good as new.
Posted by TheShokBlok - September 14th, 2024
hello there NG people! just a quick post to let whoever that is interested in knowing, I did some changes to my commissions on ko-fi.
prices are the exact same, but now I won't be doing backgrounds nor more than 2 characters per drawing, this change is nobody's fault or anything, it's just that lately I'm very lacking in time, so that sucks.
Anyways! hope u don't mind, ciao ciao.

Posted by TheShokBlok - September 7th, 2024
Recently I started to notice that I don't socialize a lot, apart from Nerine, her family and maybe like, other 2 people, I don't talk to anybody else.
I mean, if someone comes up to me and ask for something or says something I'll reply, but I suck at conversations, maybe not so much in messages, cuz there I have time to think about what I'm saying and such, but irl I don't even know what my though process is.
Sometimes people laugh at my comments, but I wonder if it's because I said something funny or they are kinda uncomfortable, specially cuz for whatever reason I don't smile while talking to people who I'm not yet used to, guess I'm just that nervous or whatever.
So I'll often find myself avoiding contact with people as much as possible, and when I get home I can be my stupid self all comfy.
I'm not complaining, I like having time for myself and the people I care about, I just find this whole situation curious, I'm kind of an irl NPC, I won't talk to you unless you talk to me first.
And that's that! bye bye.
Posted by TheShokBlok - September 5th, 2024
Sometimes on weekends Nerine and I will watch some random movies from home, a lot of times these will end up being horror movies cuz this is a genre we both like a lot.
While looking for something to watch she remembered a movie she watched a long time ago, it was about demons and possessions and alla that, Nerine finds those kinds of horror movies to be the scariest, or at least scarier than other sub genres, from what I've seen.
This movie was called "drag me to hell" I hadn't seen it before or even heard about it, I didn't thought much about the beginning of the film, it was kinda cheesey for me, but then I saw who directed this thing, Sam Raimi.
That's right! the same Sam who made Evil dead and the Tobey Maguire spiderman movies, so I suddenly became very curious about it, and well, it was a very Sam Raimi movie alright, you have everything, from screaming ladies to gross stuff all over the place.
This last part was what made Nerine hype the movie so much for me, cuz before we even started watching it she was saying stuff like this movie was horrid or that I would have to hold her the entire movie, she was barely able to keep her eyes on the screen, it came to a point where she just got as far as possible from the screen and layed down on the couch so her visibility wasn't as good, she fell asleep lel.
And so I watched the rest of the movie by myself, pretty fun watch, not very scary tho, at least in my opinion but I'd recommend it if u are bored and don't mind gross over the top stuff (although it ain't anything that bad either).
Feel free to recommend horror movies if u know about some, we may or may not give it a watch. (ㆁωㆁ)
Posted by TheShokBlok - September 3rd, 2024
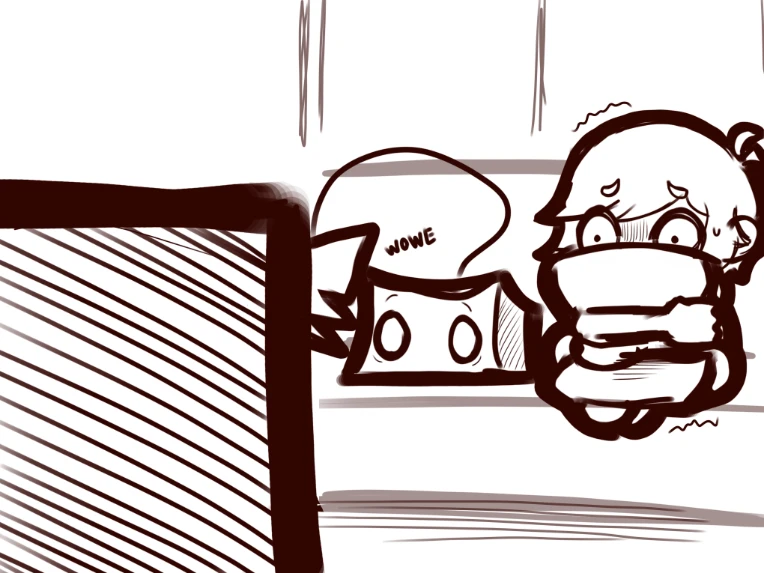
So Nerine and I were just chilling on the couch, as per usual, but suddenly... we heard a noise, an arrival, it was her bro, but he wasn't alone.
We knew from sometime now that he had a girlfriend cuz he told his mom and she told us, but this was the first time we saw her with our two own eyes!
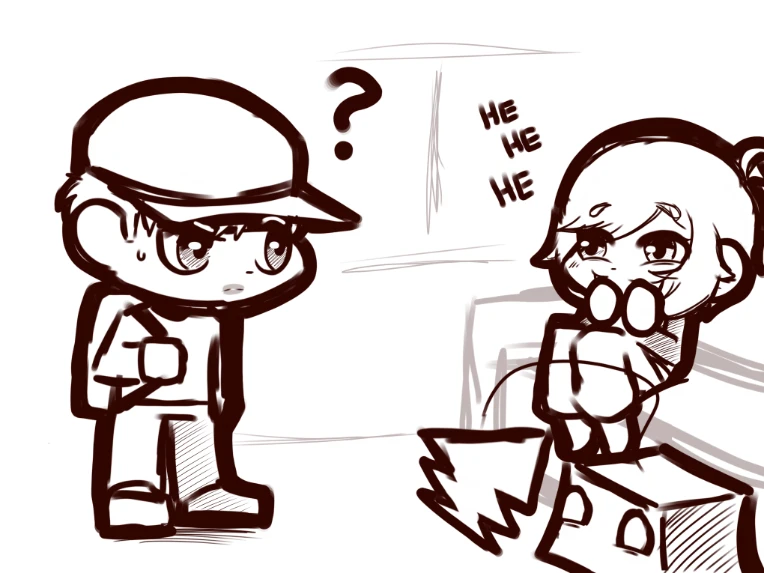
Nothing special, just a lovely good bye, then she hoped in the car with her friends (or family idk) and left, that was the sign for us to stop peeping thru the window and play it cool.
When he opened the door he was acting like usual, he didn't know but we immediately noticed the red lipstick all over his mouth, pretty incriminating evidence, we couldn't help but laugh, and he was very confused until Nerine told him to look himself at a mirror.
funnee.
Posted by TheShokBlok - August 30th, 2024
Hello! I come here to remind u that I have this little series and I've finally uploaded something about it.
Something readable, that is.
Here it is!
End of message, thx 44 reading.
